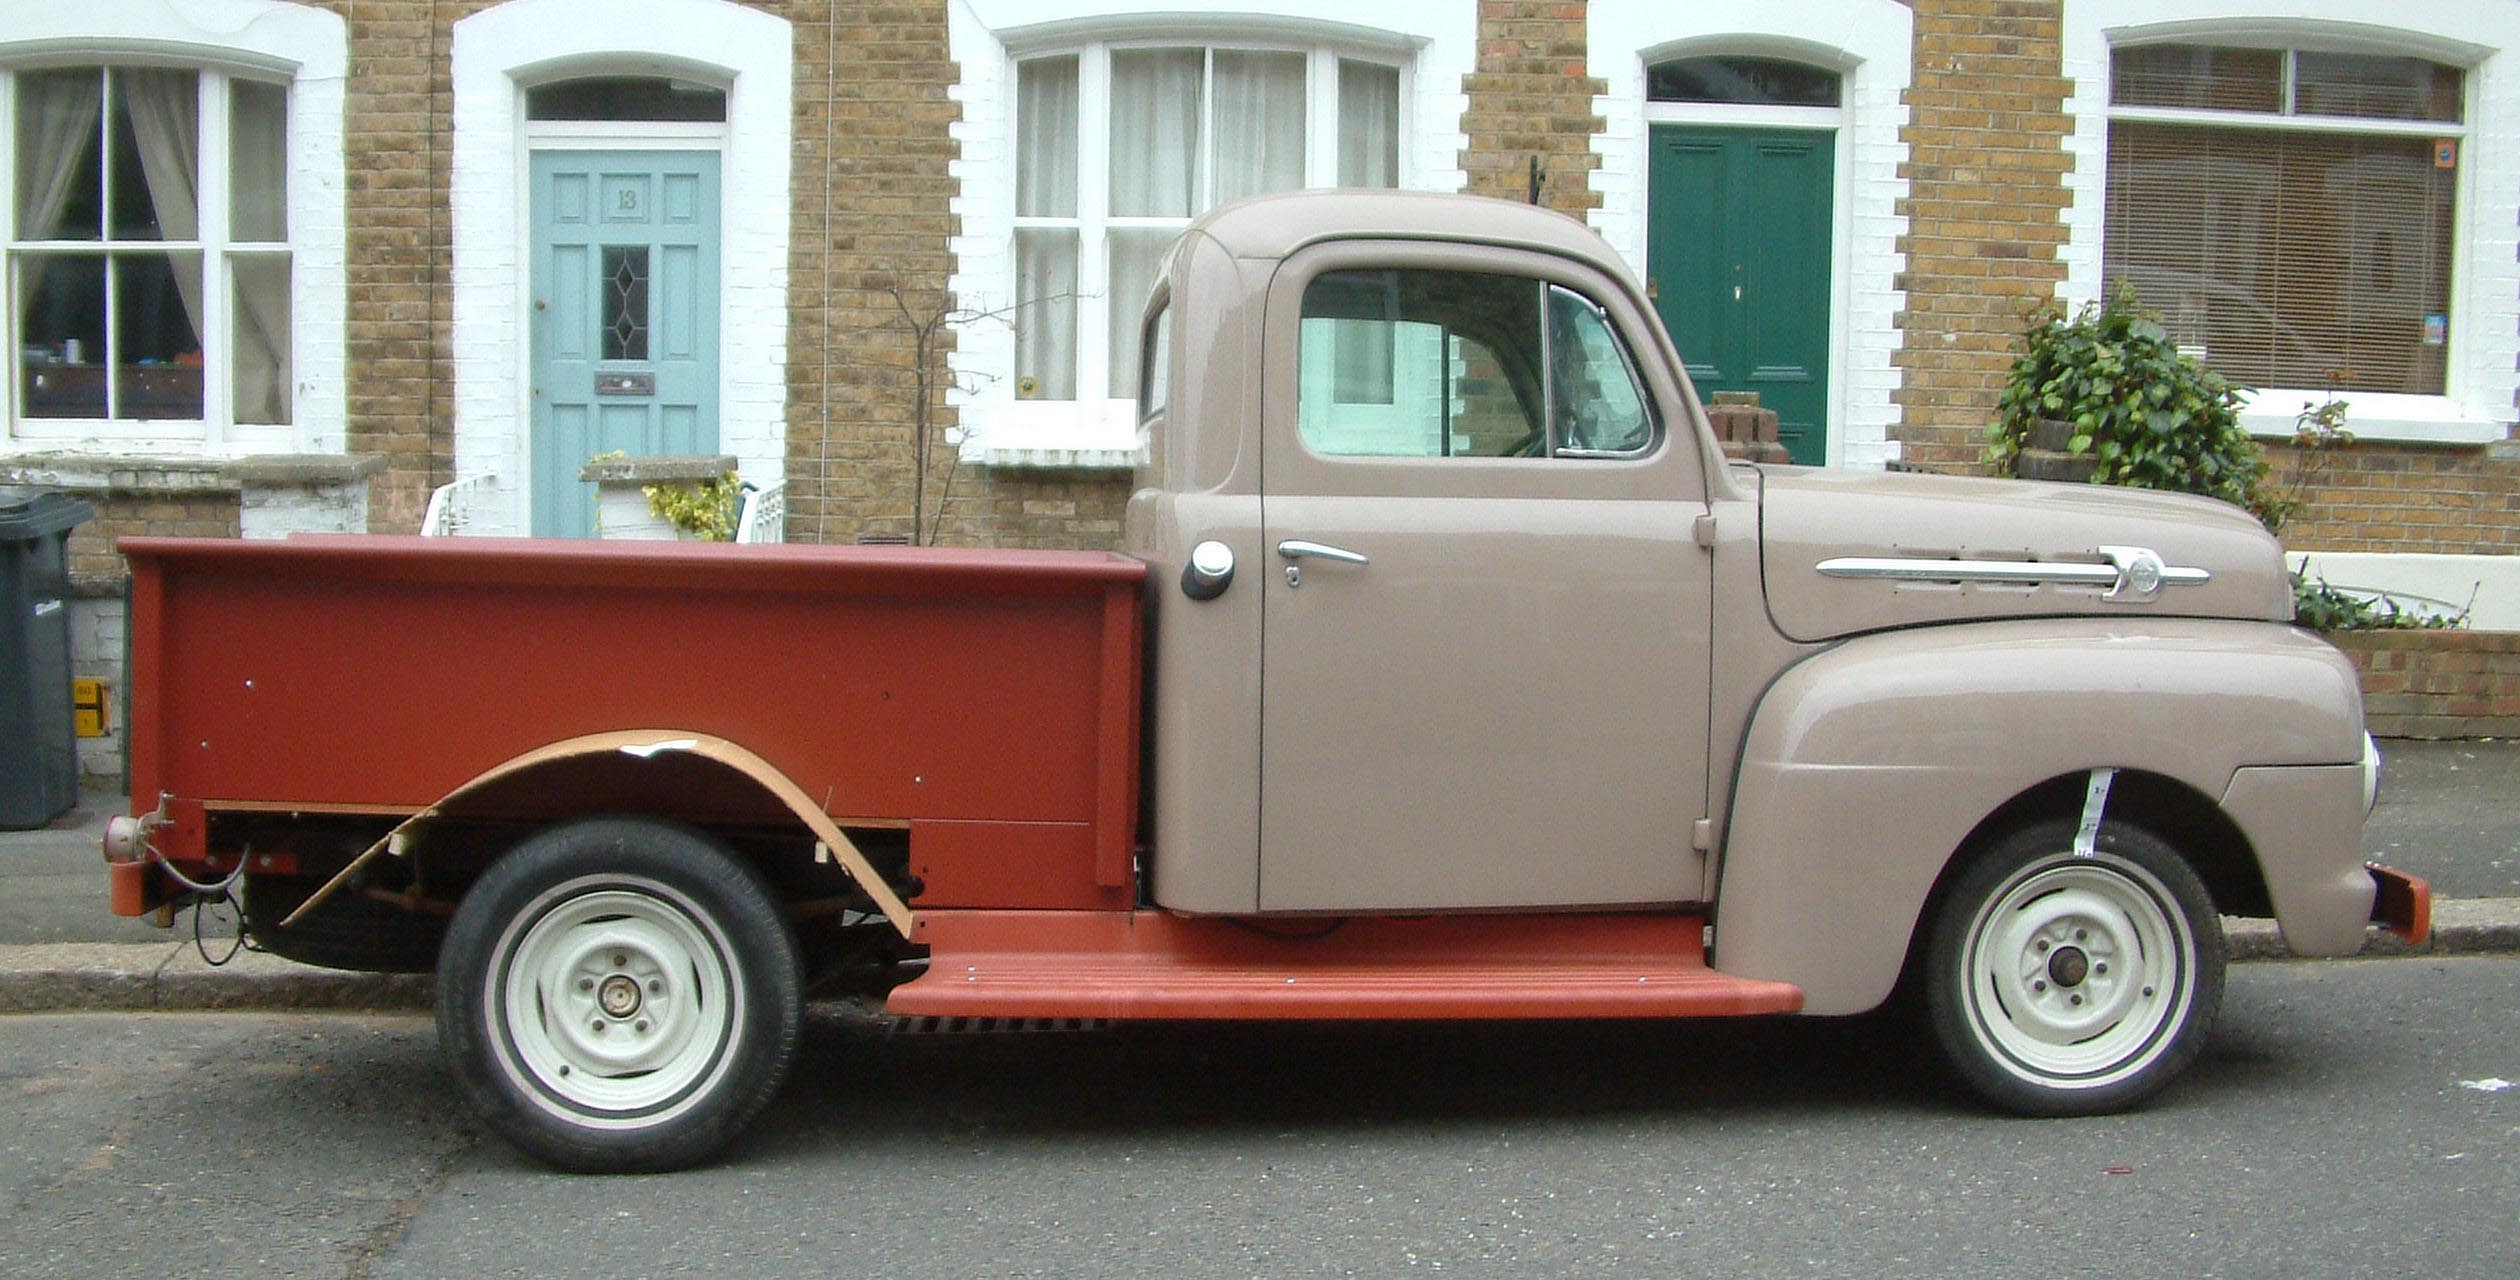
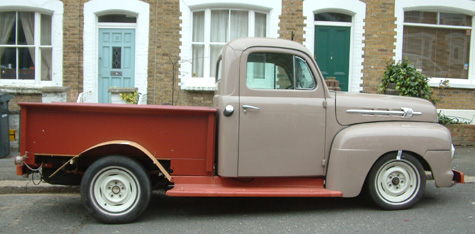
The following pictures and information was taken from the July 2008 issue of Custom Car, one of UK’s hot rod magazines. This 1952 Ford F100 was running 205/65/15 tires.

|
Safety first – get blocks under the wheels if doing this on a slope to avoid any nasty surpirses
Raise the truck frame until the weight is off the springs but the wheels are still on the floor. Loosen the wheel nuts, then raise the frame further so you can remove the wheels.
You could save yourself a lot of time by spraying the bolts you need to loosen with penetrating oil or WD-40 the night before.
|
| ____________________________ |
____________________________ |
|
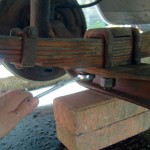
Support the underneath of the beam before starting to unbolt the leaf springs. Then you won’t split any of the brake hoses when it is unbolted.
Even with the U-bolts undone you may need to check the beam from the underside of the spring, again making sure the beam is supported across it’s entire length
|
| ____________________________ |
____________________________ |
|
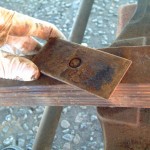
Keep both axle caster wedges – you will need these later and they do not come with the POSIES springs.
|
| ____________________________ |
____________________________ |
|
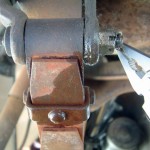
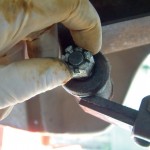
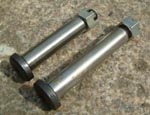
Using thin nose pliers or a flat blade screw driver, undo the cotter pin from the spring eye bolt and slide out.
With the cotter pin removed unbolt the spring at either end.
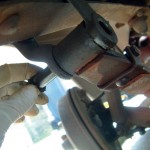
Once the nut is removed the shackle pin can be driven through the spring eye from the inside with a punch and hammer.
It is wise to order a new set of shackle pins before starting as they are usually wear badly.
|
| ____________________________ |
____________________________ |
|
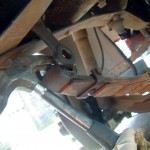
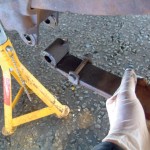
Even without the shackle pins removed the old leaves will normally need some leverage to remove – A claw hammer can help lever any stubborn springs from their shackles – but make sure the axle is supported underneath first.
|
| ____________________________ |
____________________________ |
|
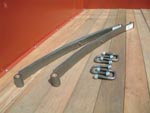
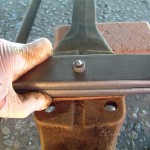
Posies Dual Flex springs come with new bronze bushings pressed into the spring eyes, shorter U-bolts and nylock nuts.
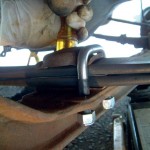
Place axle caster wedge between the axle and the spring with the thick end of the wedge towards the rear of the vehicle.
|
| ____________________________ |
____________________________ |
|
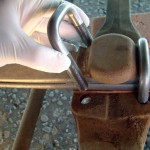
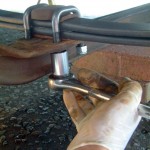
Place the new shorter spring U-bolts in position over the spring clip plate and through the holes in the axle. TIP: Use a large screwdriver wiggled through one of the holes to help you align the axle to the spring clip plate.
Tighten the spring U-bolt to the axle working around all four bolts in turn. If you have a torque wrench then we recommend a setting of 108-125 foot-pounds for both front and rear spring clips with this rising for trucks over our F1’s 1/2 ton capacity.
|
| ____________________________ |
____________________________ |
|
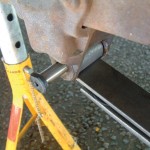
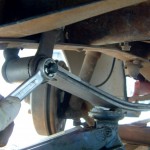
With the grease nipples facing outward, tighten the nut up snug and then back off one third turn. You will find this easier to start with the fixed spring bracket, at the rear of the spring, moving onto the other spring shackle afterwards.
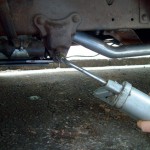
Replace the cotter pins and then using multi purpose grease and a grease gun lubricate all moving parts through the grease fitting. Any garage can do this for you if you do not have a grease gun.
Give it all a final check and then back on with the wheels. Get the lug nuts hand tigh first then drop the car off the jack stands before tightening up further.
|
| ____________________________ |
____________________________ |
The truck was lowered by 2″ just by swapping out the springs. Now keep in mind that once the springs are broken in, they will settle a little bit more.
